How to make a real estate video comes down to knowing and following a few simple steps, from planning your property’s story to properly preparing the home, shooting your content in a logical way, choosing the strongest clips from your footage bank, editing for pacing and clarity, creating platform-specific versions of your end product, and finally publishing.
In this guide, we’ll take one listing and go through each step in more detail. We’ll talk about things like choosing the right type of video and exporting a full property walkthrough with a short vertical Reel version from the same footage.
This guide is especially useful for agents and property marketers who are learning how to make real estate listing videos and want to create their own content without having the process take up a big chunk of their time and effort.
To keep the advice concrete, we’ll follow one example property from shot list to final export; note that we generated the footage for this example with our AI video generation tool, but what we’ll talk about applies to your shot footage.
You’ll also see where AI editing can speed up the repetitive parts while you stay in charge of what makes the home worth showing.
What makes a good real estate listing video
A good real estate listing video shows the property clearly, follows a logical route, leads with the strongest feature, moves fast enough to hold attention, uses clean audio and music, and matches the platform where it will be published. Everything else, including transitions and effects, is secondary to those six things.
Keep in mind that not every listing needs the same format. Here’s how the main types of real estate videos compare:
Step 1: Decide what kind of listing video you’re making
Before you start any kind of filming or editing, you have to pick the format of your video based on where it will be uploaded and what it needs to do, not on what looks most cinematic. For example, a full walkthrough is helpful for serious buyers to understand the layout of a place; one the other hand, a Reel or teaser earns attention in a feed, and an agent-led tour is best to build your personal brand. Photo-to-video listings work when you can’t film on site, and drone or property montages suit luxury listings.
Formats are only the starting point, and there are plenty of real estate video ideas once you have the basics down.
Step 2: Plan the route through the property
Once you decide what kind of listing video you want to make, walk the property and settle on one path to follow during the video: open with the strongest shot, move from room to room without doubling back, and decide which details deserve a close-up. A clear route is what turns a pile of nice clips into a video walkthrough real estate buyers can actually follow.
An example of a shot order you can follow is:
(create a flowchart for the below to make it clear and appealing to look at)
Exterior → entry → living room → kitchen → primary bedroom → standout detail → outdoor area → call to action
This flow makes sense as the exterior sets the scene, the entry introduces the property’s interior and starts the walk, and the kitchen usually gets the most attention, so it’s better to show it early. Finally, the outdoor area gives the video a natural ending before the call to action. If the views or the yard are the story, move them earlier. A tip is to write the order down as a simple shot list, ready before moving to filming.
Step 3: Prepare the property before filming
Do a quick pass through every room before you record: declutter surfaces, open blinds and curtains, turn on the practical lights, straighten furniture, put away personal items, and check mirrors for reflections of you or your gear. These fixes are essential to make the property seem presentable in the listing video.
Check each room through your phone screen first. If something looks off there, you know it will look off in the final video.
Move slowly and keep every camera move deliberate. You can start showing each room with a wide establishing shot, avoid panning too much though, and get two or three takes of the key rooms. Then grab detail shots of finishes, fixtures, and views to cut to later. Those detail shots are your B-roll; if the term is new, this quick explainer on what is B-roll will help.
Steady, slow footage is better and easier to edit than fast, shaky footage.
Also, it’s best to shoot in the orientation you plan to publish. Horizontal suits the main listing video and vertical suits Reels, so capture the key rooms in both if you can. As for equipment, a recent phone on a gimbal is enough for most house listing videos; a dedicated camera is only more important for larger or luxury properties.
If you want to shoot a real estate drone video, know that flying a drone for a listing counts as commercial use in the US, so the pilot needs an FAA Part 107 Remote Pilot Certificate. Get certified or hire a licensed pilot, and check the FAA’s current commercial drone rules before you fly.
Step 5: Build the video around the property’s strongest feature
Give each listing one clear selling angle; maybe the property has great views, natural light, outdoor space, kitchen, architecture, neighborhood, or an unusual layout, and let it shape the whole edit. A video that just goes room, room, room, room has no point of view, making it forgettable even if the footage is well shot.
Creating your real estate listing video with that direction in mind gives you opportunities to double-down on that main feature in five different ways:
- Opening shot: start on the hero feature, not a generic front door.
- Pacing: hold a beat longer on the hero feature and move faster through everything else.
- Text: name the feature once on screen in a few words.
- Music: match the track’s energy to the feature. Calm and open suits light and space, and a track with more energy suits a lively kitchen or entertaining area.
- Final call to action: return to the hero feature before you close.
In our example, the hero feature is the property’s view, so the video opens on a shot that clearly showcases it and returns to it just before the call to action.
If you want to add narration, a short real estate video script is enough: have one line on the hero feature, one line per key room, and one line on price, location, or next step. Keep sentences short and describe only what viewers can see. Our guide to match B-roll to your video shows how to line up supporting footage with what you’re saying.
Step 6: Edit the real estate video
Editing a listing video mostly consists of cutting the weakest footage, choosing the best take of each room, putting clips in order, keeping the pacing tight, and making sure you’re only adding what helps get your point across. In brief, simple cuts beat heavy effects, and the video should stay focused on the property.
Here’s an editing checklist for you to follow to make things faster and easier:
- Cut shaky or weak clips.
- Choose the best take for each room.
- Order clips along your planned route.
- Trim the start and end of each clip to keep pacing tight.
- Use plain cuts or one simple transition.
- Add the address and key details where appropriate.
- Add music, and keep it below any narration.
- Clean up spoken audio.
- Fix obvious exposure or color jumps between rooms.
- Add captions for spoken sections.
We cover software and deeper techniques in our real estate video editing guide, but this quick checklist should already get you started and speed up your editing workflow.
Step 7: Edit the listing video faster with Async
Speaking of making things faster and easier, using an AI video editor like Async can really boost your editing game. You’ll still decide what makes the property worth showing, all while Async helps turn your footage into the finished versions faster: you upload your clips, tell the chat editor what to change, review each result, and export a full listing video and a shorter social cut from the same project.
Here’s the process for our example listing. Brackets mark the real prompts, screenshots, and results to add from the actual edit.
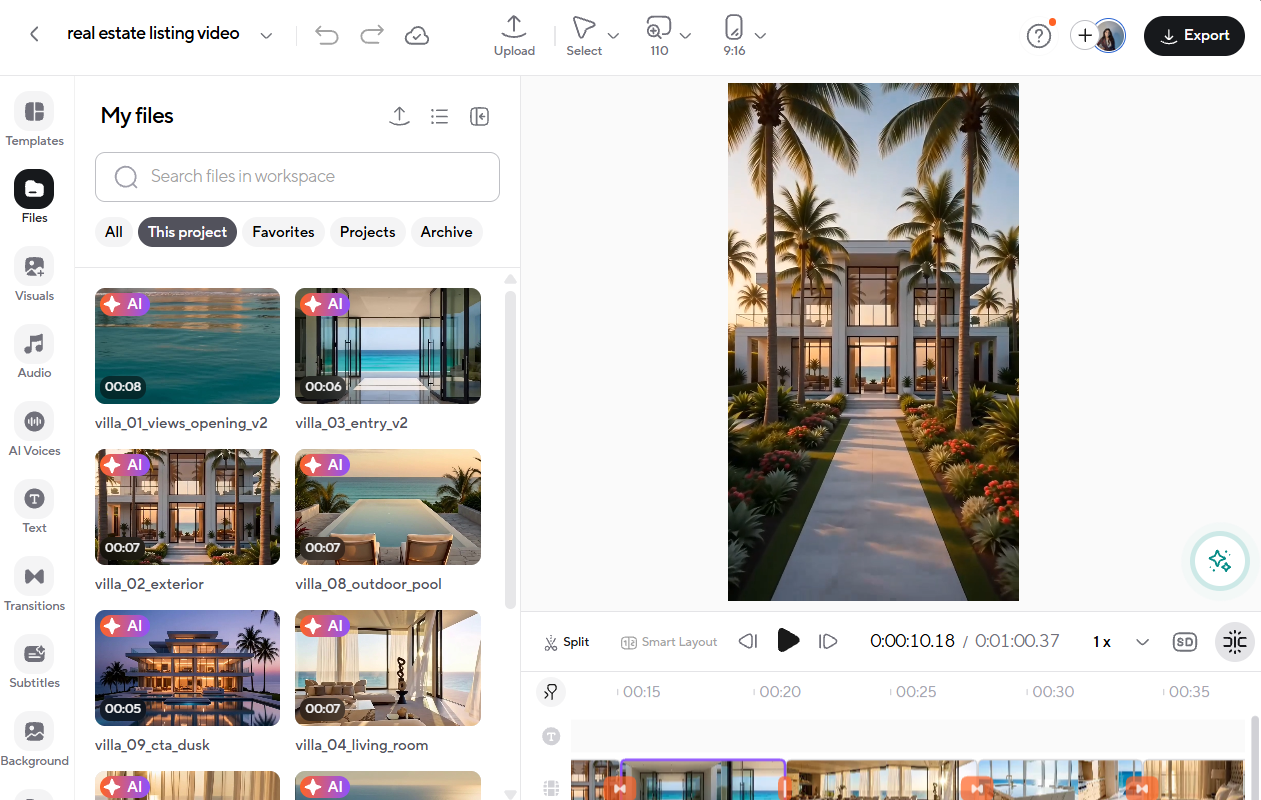
Upload the raw clips
Start by adding every take you shot to a new project so you have everything in front of you to see and pick from.
Note that we took a generated sample example, but in your case, you’d upload your shot footage.
Ask for a first edit
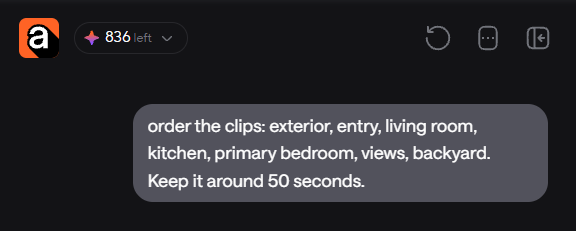
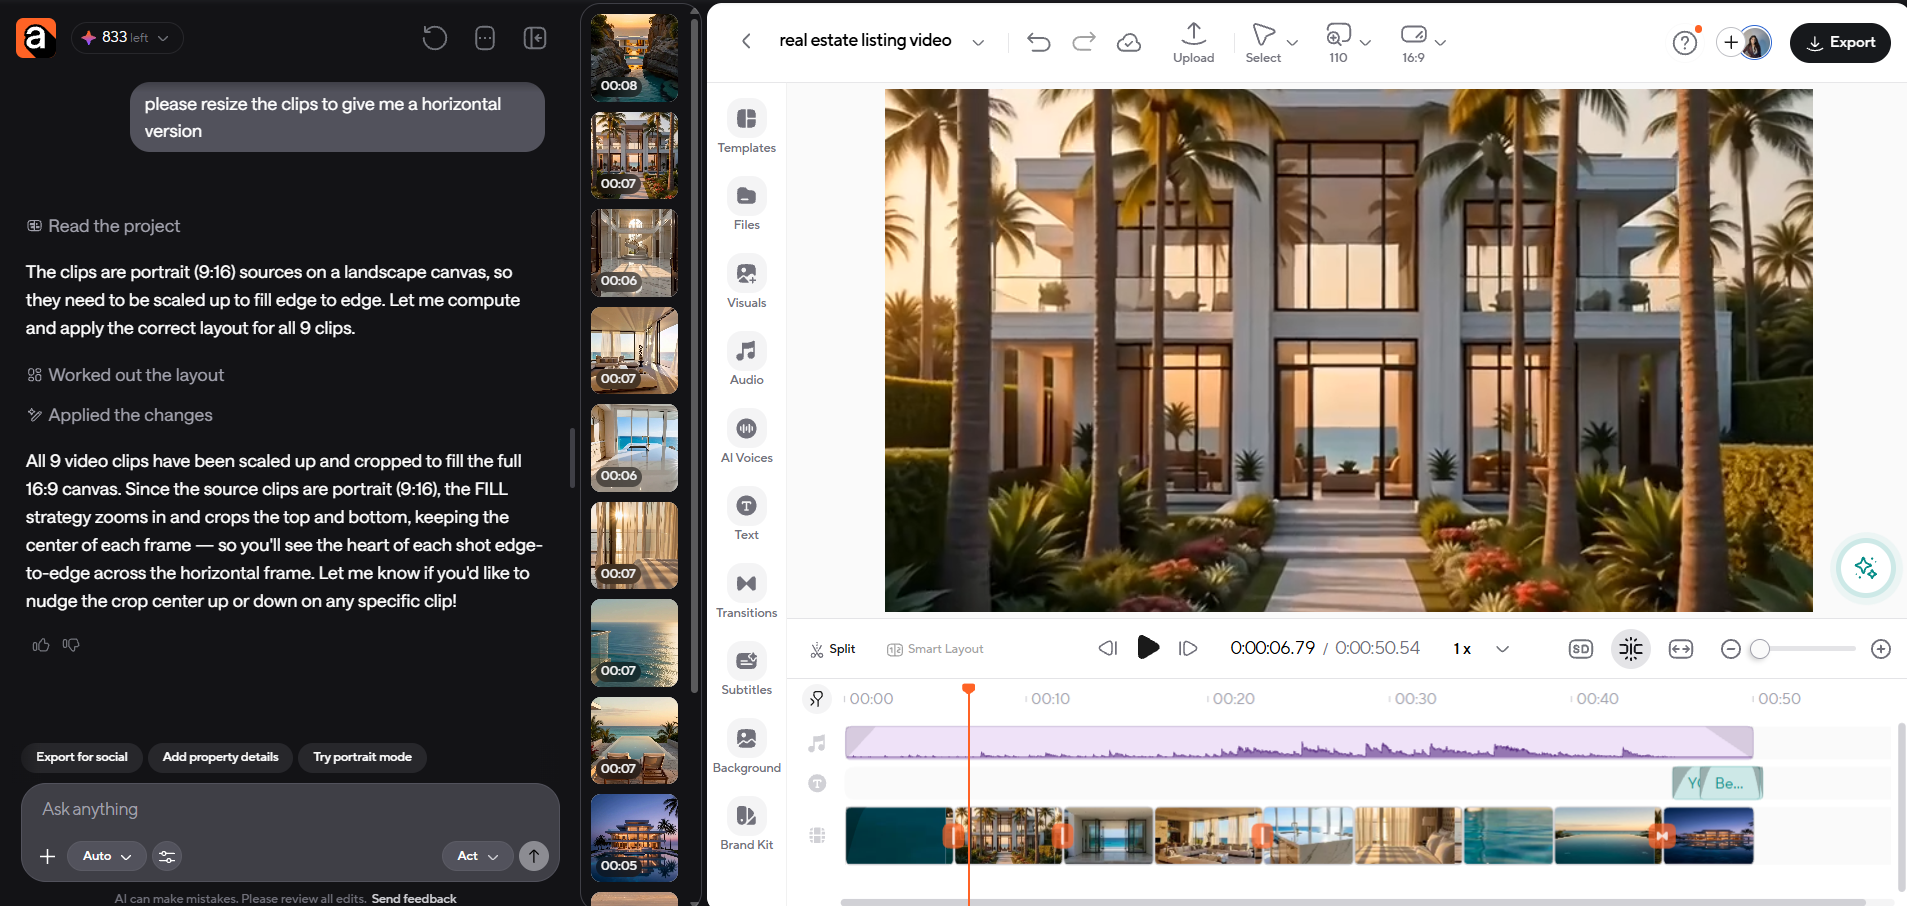
With chat-based video editing, you can describe changes in plain language. Use the chat editor to handle requests like trimming, captioning, clipping, and resizing. For example, you can ask it to “order the clips: exterior, entry, living room, kitchen, primary bedroom, views, backyard. Keep it around 50 seconds.”
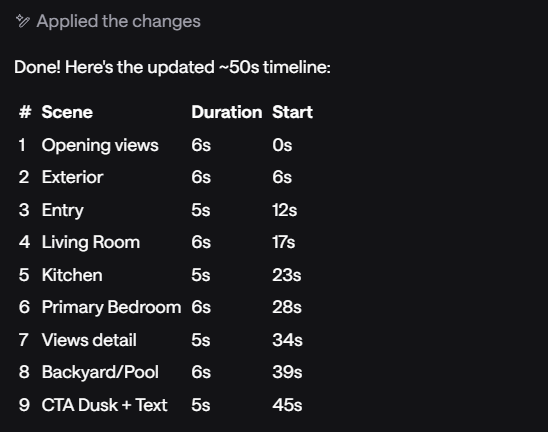
Refine your edit
Using the chat editor or the main timeline, reorder clips, insert transitions, tighten pacing, and add music. For spoken audio, you can use the Magic Dust feature to clear background noise and improve tone in one click. You can also add generated captions to the spoken sections.
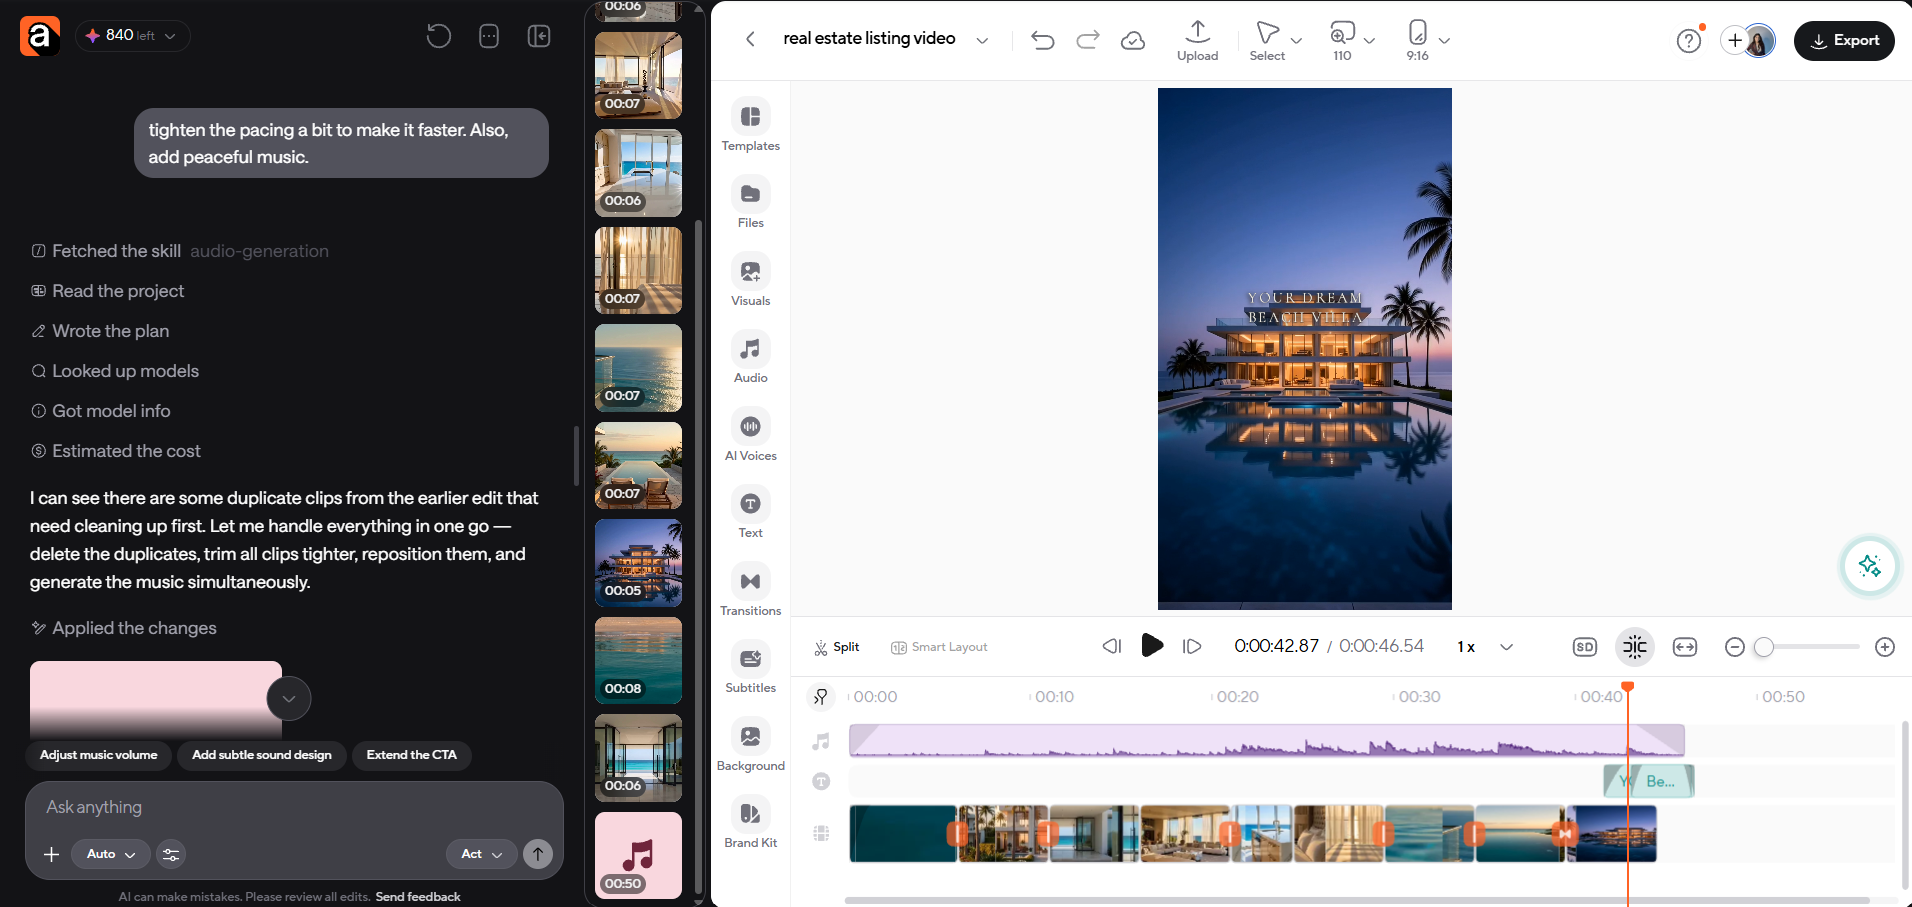
Export your versions
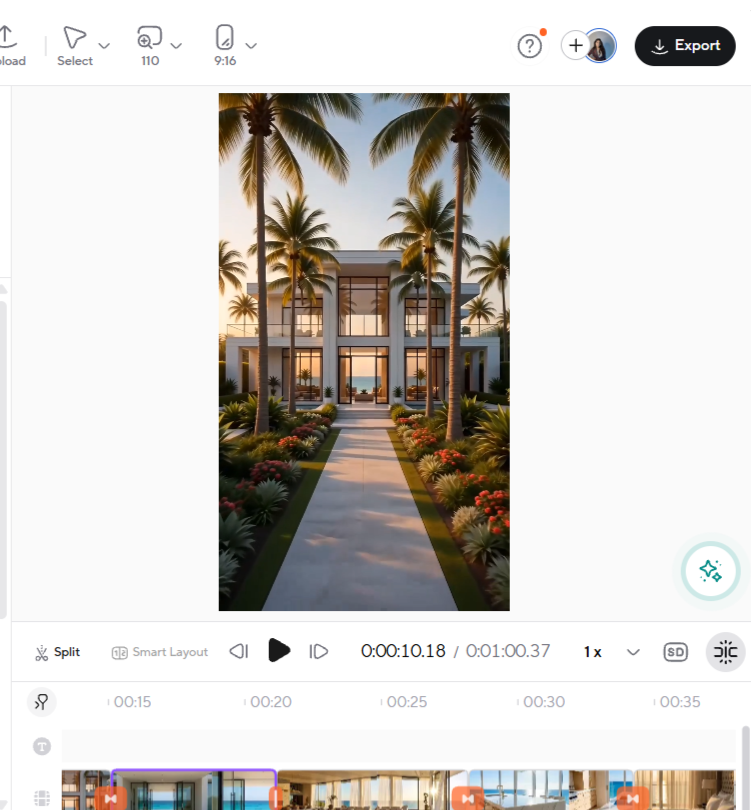
Finally, it’s time to export. Depending on your preferred platform, you will either have a horizontal or vertical version of your video. One thing you can do is finish the full horizontal walkthrough, then ask Async to create a vertical Reel from the same footage.
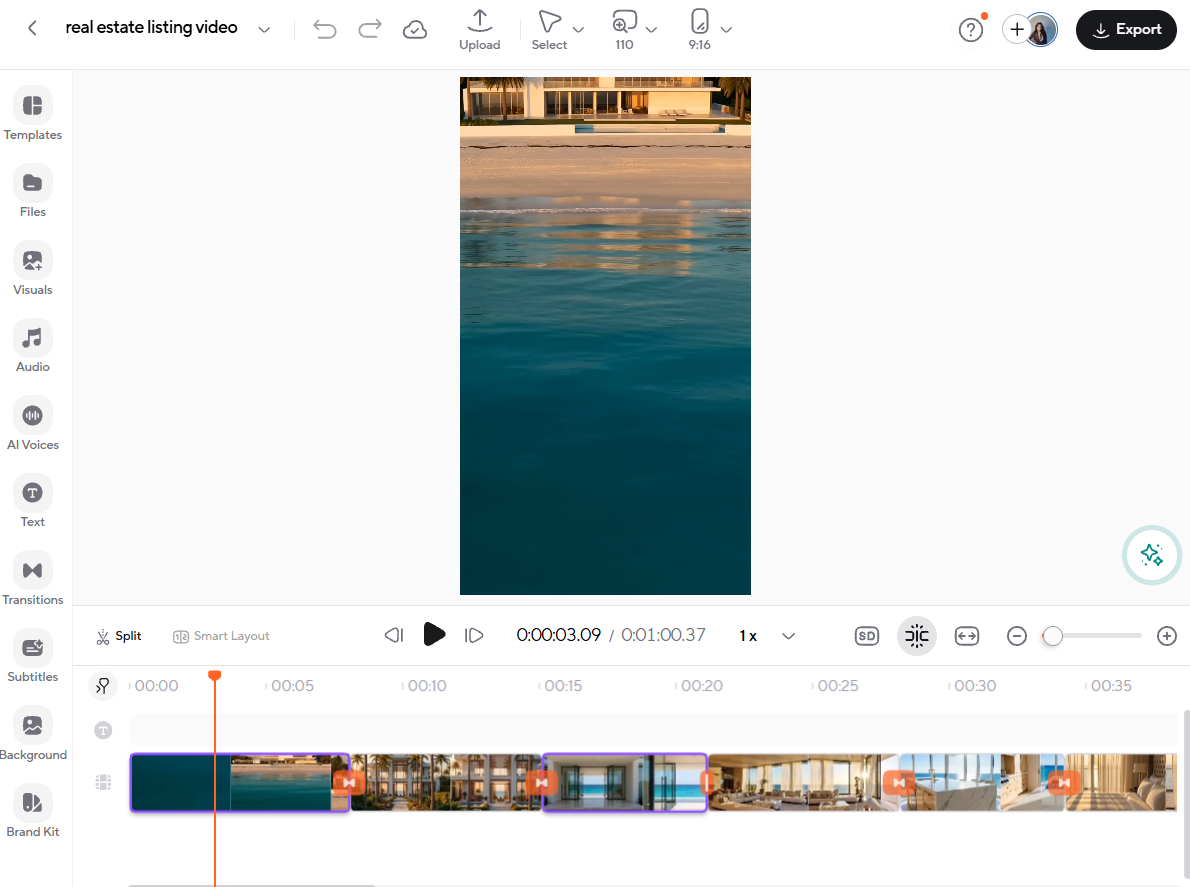
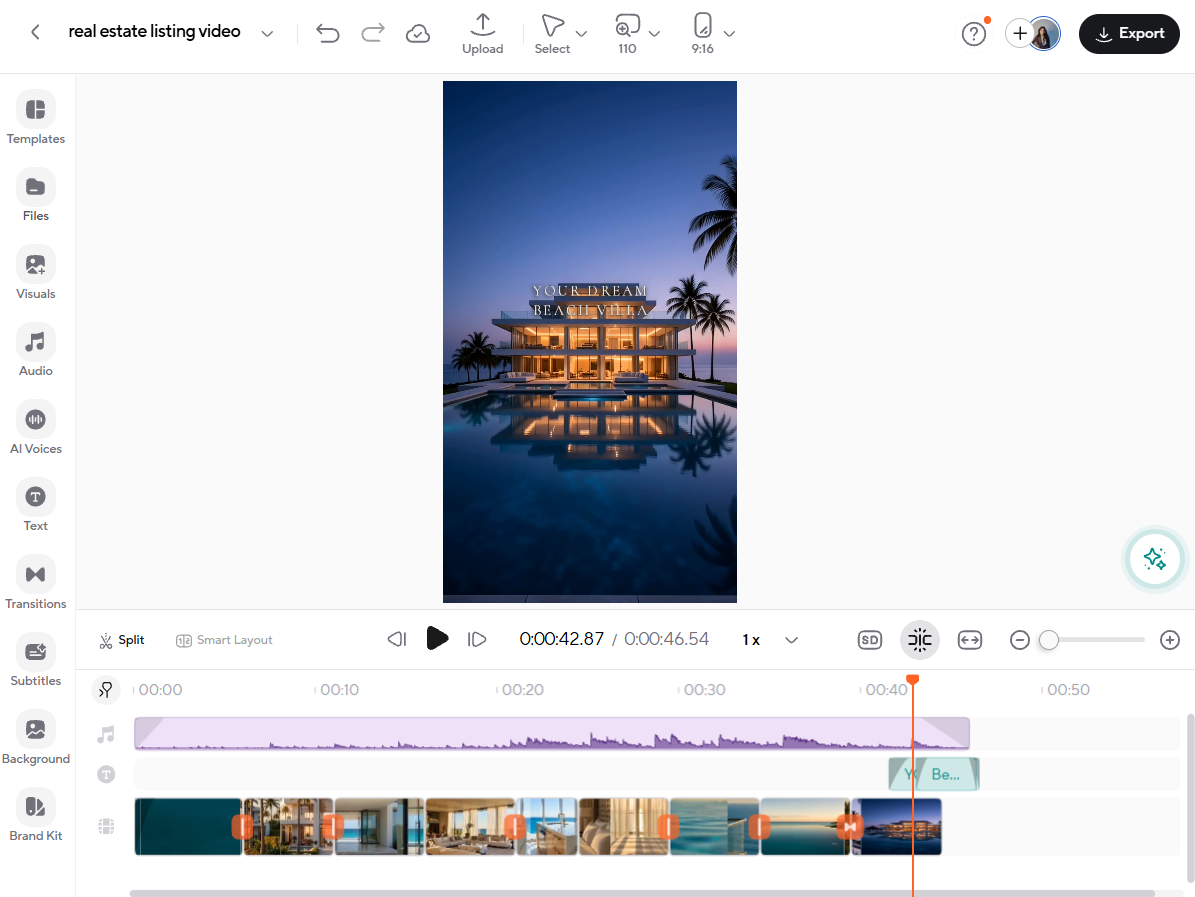
Standalone real estate video makers, video editors, and templates usually handle one step of the process mentioned above, but they leave you to export, caption, and resize in separate tools. Async is built for the connected part: edit the footage, add captions, and create the vertical cut in the same editor.
Step 8: Make a vertical version for Reels and TikTok
Before starting to film, make sure you plan one shoot to produce all the real estate marketing videos for the specific listing. This includes your main property video, a 30–60 second Reel to publish on Instagram or TikTok, a shorter teaser, and optionally a short agent talking-head intro. Cut the vertical version around the hero feature instead of shrinking the horizontal file, add captions, and end on a clear next step.
Keep an MLS version too. Many MLSs require listing videos to be unbranded, with nothing that promotes the agent, the office, or anything but the property, while Canopy MLS dropped its unbranded-tour requirement in 2024. Confirm your local rules, such as SmartMLS’s virtual tour guidelines, then export an unbranded file for the MLS and a branded one for social.
Step 9: Review before publishing
Watch the finished video once with the sound off, the way many viewers will and see if it is engaging and easy to watch. Then go through the checklist below and see if there are any areas where your video needs editing; check whether the video has the wrong room order, a misleading shot, an outdated price, or an export that doesn’t fit the platform.
- Does the room order make sense?
- Are any shots misleading?
- Is the property information accurate?
- Are captions, names, and prices correct?
- Is the music licensed?
- Are disclosures needed for digitally altered or AI-generated visuals?
- Does the video match the platform’s aspect ratio?
How long should a real estate video be?
There’s no single right length, because it depends on where the video will run. As a starting point, aim for about 15–30 seconds for a social teaser, 30–60 seconds for a Reel, and 1–3 minutes for a full walkthrough. Luxury or story-driven videos can run longer only if they can hold attention.
As for platform limits, that’s a separate question, as these change every now and then. For instance, Instagram raised its Reels limit more than once, and what you can upload varies by account, so check the platform’s current help page before planning around a maximum. A better test is to cut until every second of the property video either shows the layout or sells the hero feature.
Common real estate video mistakes
The most common mistakes you can make when creating real estate video tours usually involve either pacing or not having engaging enough content. Opening with a weak exterior, showing every room for too long, overusing transitions, shaky movement, an unclear route, having music that overpowers narration, misleading edits or AI enhancements, and using one export everywhere are some examples of this. Don’t worry, though, as most of them take one pass to fix.
Here are some tips to help fix these issues in your real estate video:
- Weak opening: start on the hero feature.
- Rooms that drag: show each room only long enough to explain the layout.
- Too many transitions: use plain cuts.
- Shaky movement: reshoot the shot, or cut it.
- Unclear flow: follow the route from Step 2.
- Music over narration: lower the track under speech.
- Misleading edits: show the property as it is, and label anything digitally changed.
- One export for everything: make separate horizontal, vertical, and MLS versions.
If you see yourself struggling with pacing and cuts, these video editing tips are also definitely worth a read.
Real estate video examples to study
It’s always useful to watch some real listing videos before you shoot your own, and learn from what they did well and what you can copy. You don’t need to imitate the ones that have the most cinematic looks, instead, simply focus on learning from the successful ones that you can actually take inspiration from and apply in your videos technically.
- Omer Labock’s POV real estate video is shot entirely on a phone by one agent walking through a New York rental, calling out size, storage, and outdoor space as he goes. The price reveal at the end keeps viewers watching to the last second. This is the format most solo agents can realistically produce with no crew and no gimbal.
- TIG Home’s video intentionally slows the edit down in the home’s strongest rooms and speeds through hallways and transitions. The variable pacing is the takeaway: it’s a simple editing trick that works on any listing, regardless of price point.
- Erik Van Conover’s luxury mansion listing video starts with a drone shot of the mansion and surrounding area, a key feature of this property, and then also changes up the pacing with an introductory montage as well as throughout the video, mixing between guided and B-roll shots.
Real estate listing videos are easiest to learn from when you can compare styles side by side, so it’s a real benefit to follow and try to learn from the best real estate video examples you can find online.
Final thoughts
Knowing how to make a real estate video isn’t about cinematic gear. It’s about planning your video to have a clear route, one strong selling angle, and creating one with tight editing and versions that fit each platform. Plus, when you have the footage ready, you can get from raw clips to a full listing video and a vertical Reel without the process turning into a second job using Async’s AI video editor.
Ready to try it on your next listing? Sign up for Async and start editing, captioning, and reformatting your property footage from one place.
FAQ
How do you make a real estate listing video?
Start by planning the property story, make sure you prepare the home for filming, then film a logical route through it. After that comes editing: choose the strongest clips, edit for pacing and clarity, don’t forget to create horizontal and vertical versions, and finally publish. Tip: build the video around the property’s best feature rather than showing every room equally.
What should a real estate video include?
Good real estate videos should include a strong opening shot, a clear route through the main rooms, include close-ups of standout details, not to mention have the address or key facts on screen, clean audio or music, and a simple call to action to tie it together. Make sure to leave out misleading shots, personal items, and long stretches of empty rooms.
How long should a real estate listing video be?
While there’s no official rule, it’s best to have 15–30-second social teasers. Reels should be 30–60 seconds long. If it’s a full walkthrough, have it be 1–3 minutes. Luxury or story-driven videos can run longer if they hold attention. Check each platform’s current limits before planning, since they change.
Can I make a real estate video with my phone?
Yes. A good phone works for house listing videos, especially with a gimbal or built-in stabilization. However, to get high-quality footage, clean your phone lens well and move slowly. Also, try to shoot in good light. A dedicated camera or drone only matters for luxury properties and aerial shots, but really, planning and editing matter more than gear.
What is the best format for a real estate listing video?
Use horizontal 16:9 for the main walkthrough, which suits listing pages and YouTube. Meanwhile, shoot Reels, TikTok, and Stories in vertical 9:16. Export the right format for each destination instead of using one file everywhere.
Should real estate videos be vertical or horizontal?
Both, if you can. Listing pages and YouTube walkthroughs should be horizontal; on the other hand, you should shoot in vertical for phone-optimized formats like Reels and TikTok. Shoot the key rooms in both orientations, or frame shots so a vertical crop still shows the important part.
How do you edit a real estate video?
Edit your real estate listing videos by cutting weak footage, choosing the best take of each room, ordering clips along your route, tightening the pacing, and adding music, captions, and property details on the visual. Keep transitions simple. If you’re new to editing, our guide on how to edit videos covers the fundamentals.
Can AI help make real estate listing videos?
Yes, AI editing can speed up repetitive steps like trimming, captioning, audio cleaning, and resizing for vertical video adaptations. But be careful with AI enhancements that change how the property looks, since they can mislead buyers and may trigger disclosure rules.
Can I turn a property walkthrough into an Instagram Reel?
Yes. Just cut a 30–60 second reframed vertical version of your video that focuses on the hero feature. For Instagram, it’s also better to add captions and end with a clear next step CTA. A Reel edited from your walkthrough usually works better than a simple crop, because both the framing and the pacing need to change.
Do I need a professional videographer to make a listing video?
Not necessarily. Many agents produce solid listing videos with a phone, a plan, and a careful edit. Professional real estate videography makes more sense for luxury listings, a real estate drone video, or when you can’t spare the time to shoot. Either way, the planning and editing steps here still apply.
PakarPBN
A Private Blog Network (PBN) is a collection of websites that are controlled by a single individual or organization and used primarily to build backlinks to a “money site” in order to influence its ranking in search engines such as Google. The core idea behind a PBN is based on the importance of backlinks in Google’s ranking algorithm. Since Google views backlinks as signals of authority and trust, some website owners attempt to artificially create these signals through a controlled network of sites.
In a typical PBN setup, the owner acquires expired or aged domains that already have existing authority, backlinks, and history. These domains are rebuilt with new content and hosted separately, often using different IP addresses, hosting providers, themes, and ownership details to make them appear unrelated. Within the content published on these sites, links are strategically placed that point to the main website the owner wants to rank higher. By doing this, the owner attempts to pass link equity (also known as “link juice”) from the PBN sites to the target website.
The purpose of a PBN is to give the impression that the target website is naturally earning links from multiple independent sources. If done effectively, this can temporarily improve keyword rankings, increase organic visibility, and drive more traffic from search results.